I have been asked from time to time if its possible to paint a motorbike with spray cans. Whilst it is best to use the correct spray equipment, not every one has access to this, so when friend asked me to re-spray his bike I thought, here is an opportunity to show you how.
When painting a motorbike, you have to be careful with what products to use as there can be problems with fuel spilling (especially around the fuel tank) as it eats into the paint. Hopefully this step by step by process can give you an idea of what to do and give you the confidence to give it a go yourself.
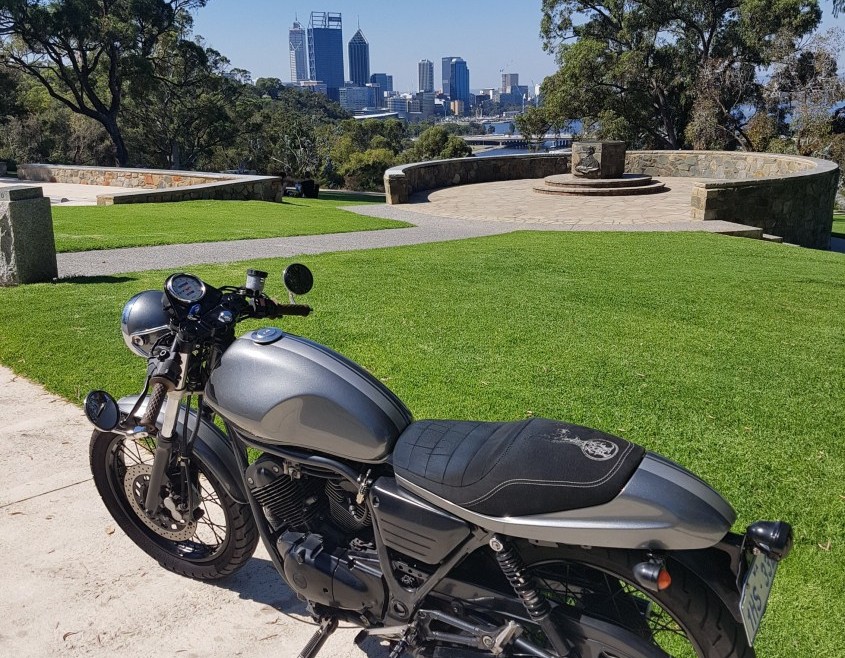
Final Result
Instructions
Step 1) – Clean Surface
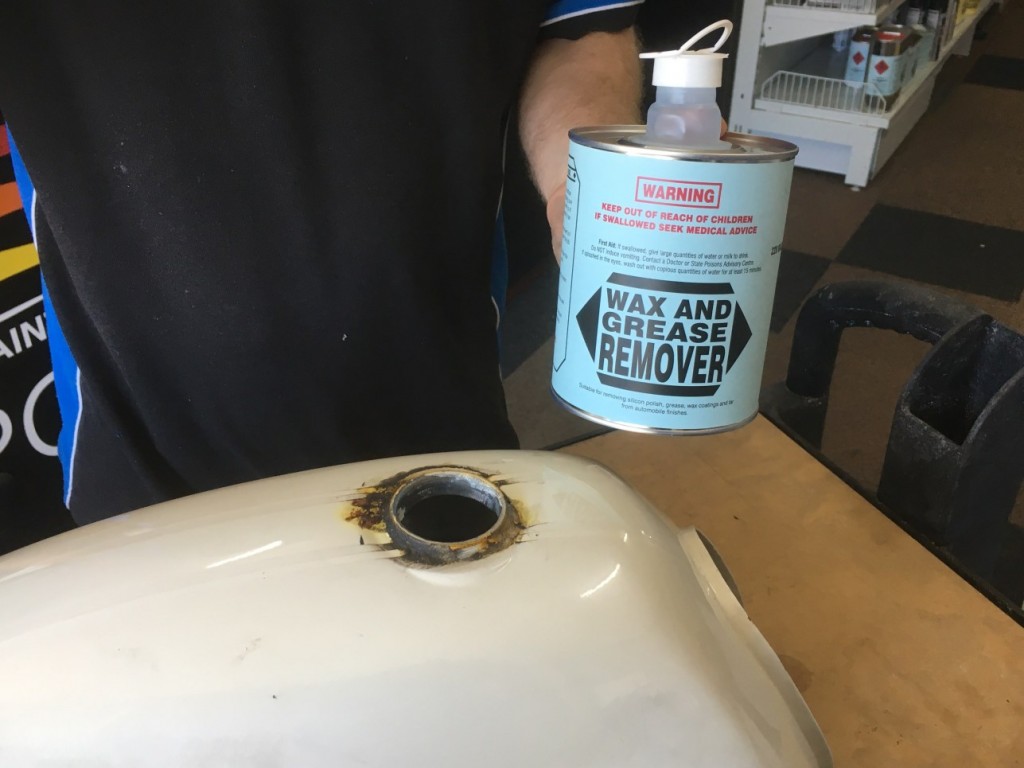
After removing all the parts, I used wax and grease remover to remove any of the contaminants (fuel, oil, grease, silicons and polish) that may have been on the parts, I repeated the wax and grease remover a few times.
Once I was happy that i had cleaned the parts properly, I left all the wax and grease residue to evaporate off for about half and hour.
Step 2) -Sand Surface
I then sanded all the surfaces with wet and dry 400g. I didnt take all the paint off or sanded to bare metal, I just took off a few layers of paint to take out any scratches and make the surface smooth and even.

Step 3) – Etch Prime Bare Metal
I fortunately had no dents to fill but as a result of sanding out some of the deeper scratches out, I exposed some ‘bare metal’.
I applied 2 light coats of Super Etch Primer over the exposed metal (shown in dark grey on the picture), leaving about 5- 10 minutes between the coats. I then left the etching primer about 1 hour.

Step 4) Spot Prime & Prime
I spot primed over the areas where I used Super Etch Primer with 2 coats of 1K Primer, waiting about 5 minutes between coats.
I then primed all the parts with 4 – 5 coats of 1K Primer, waiting about 5-10 minutes between coats. I then left the parts to dry for about 4 hours
Note: I thought about using a 2K Primer instead of a 1K Primer but being that I was limited in time and the parts were in good condition I decided that using the 1K Primer was a good option. The 1K Primer was no ordinary Primer but a special primer that was suitable to be topcoated with 2K.
Step 5) – Guide Coat
I applied a light mist coat of Matt Black (acrylic lacquer) over all the parts to act as a guide coat. You don’t want the black to be too thick as you will be rubbing it all off. There is Guide Coating products available but I used a Matt Black in this case and you can see that i am spraying it from quite far away.
In some ways I may have applied too much ‘guide coat’
Step 6) – Sand Guide Coat
I sanded the parts with 400g dry paper first to sand off all the guide coat and then finished off the parts with 600g dry paper.
The ‘guidecoat’ is used to show all the ‘highs’ and ‘lows’ of the paint, so its important to keep sanding until all the guide coat is gone. Like shown in the photo below, the surface may feel smooth but its not. I sanded to that the surface is like the right side of the picture ( all the black gone) and not like the left side (some of the black still showing)… sorry if its a bit hard to see.

Step 7) Colour
We decided on a two tone colour. A darker grey metallic base colour and two light silver complementary stripes running down the middle.

I wiped over all the parts with a lint free cloth so get rid of any excess dust from the sanding. On a couple of the parts I used some Water Based Panel Wipes with lint free cloth and left for about half an hour.
I used a ‘tack cloth‘ to lightly wipe over each part just before I sprayed the colour down to get rid of any hair or light dust that may have landed on the surface.
I then applied 3 medium coats over all the parts to get coverage over the primer, allowing 5 – 10 minutes between the coats (make sure the coats are all even and no ‘tram’ lines are visible). I then left the Colour to dry for 1 hour.
Step 8) Using Fine-Line
Because I was using 2k Basecoat and not Acrylic Lacquer I was able to mask within an hour without the evaporating solvent attacking the masking tape and leaving a reside.
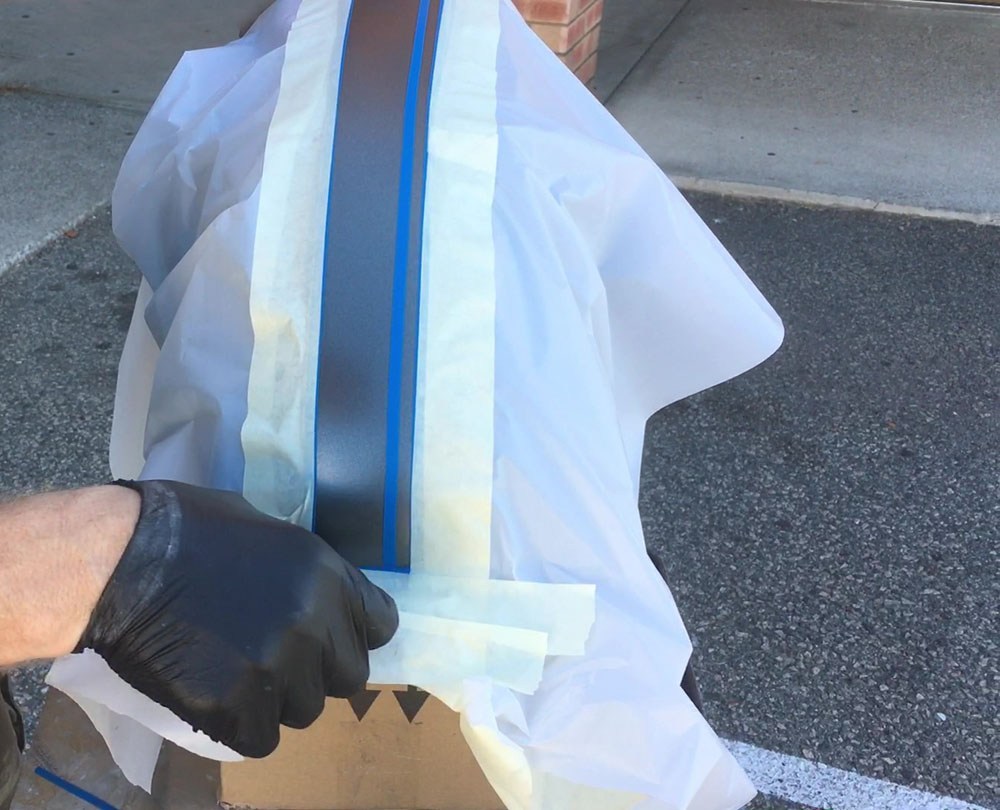
Using fine line (and a good eye), I lay the stripes down where I wanted and then masked off the areas I didn’t want sprayed.
Step 9) Colour
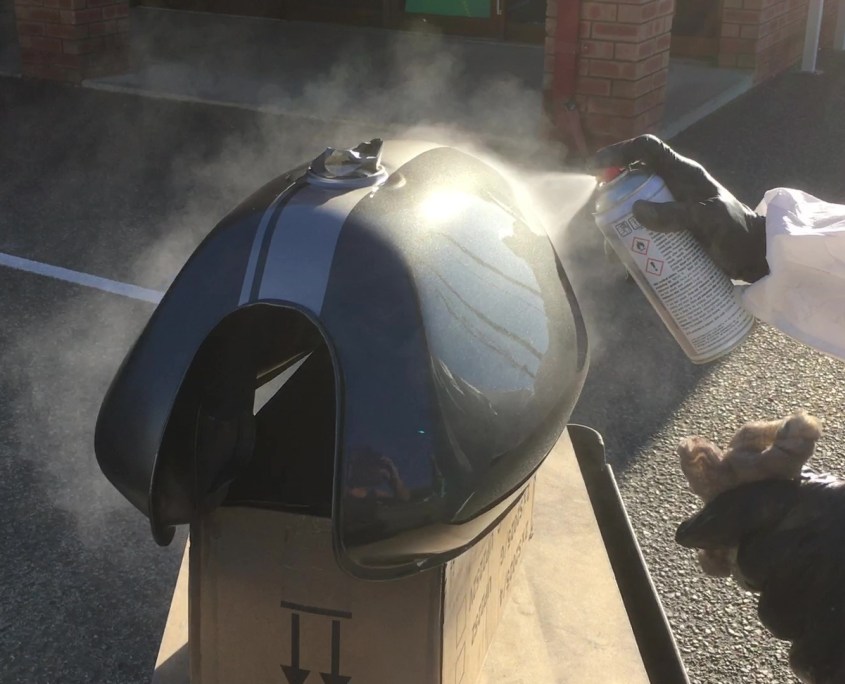
Once masked, I used the ‘tack cloth’ again to remove any hairs or dust that may have landed, then applied to 2 light to medium coats (coverage) over the masked area. I then left for 5 minutes.
Note: I only did one part at a time for the spraying of the stripe(s).
Step 10) – Unmask
There is a few ways to do this next step but what I did was leave the part to dry for 5 minutes (from last coat) and then carefully de-mask the masking paper and tape and carefully pulling the fine-line off at a 45° angle. DO NOT just ripping the fine-line off quickly.
I did this while the paint was still a bit soft so that, in theory, to prevent paint from lifting off where I didn’t want it to lift off (its less likely to do so when the paint is still soft). Otherwise if there is too much paint build and if the paint is too cured, the paint doesn’t necessarily come off where you don’t want it to come off… its really annoying to have to re-mask.
Step 11) – Applying a Clear
Because of the possibly of Fuel Spillage, I painted the parts (the tank is the important one) with 2K Clear, not only that, the gloss is much deeper and shinier off the spray can that Acrylic lacquer.
Its important to Clear each part separately as applying the 2K Clear can be time restrictive and time sensitive.
I cleaned the surface with Waterbased Prep Wash using a Lint-Free cloth and allowed residue to to evaporate off ( a few minutes).
Just before I applied the 2K Clear, I used a Tack Cloth to lightly wipe over the surface to remove any dust or hair that may have landed on the surface.
Step 12) – ‘Tack’ Coat of Clear
I applied the 2K Clear with a light mist coat (or ‘tack coat’) over the surface and wait will the mist coat ‘tacks’ off (goes sticky like sticky tape) roughly 2 – 4 minutes. What I found is I used the LID of the spray can of 2K Clear as a testing piece by applying an equivalent coat over the Lid (the same as what I just sprayed down as a mist coat). That way I could test the LID to see if its ‘tacky’ and ready for another coat.
Step 13) – Clear
I then applied a ‘Gloss Coat’. What I mean by this is I made sure that the Clear became glossy behind where I applied the clear ( basically, how the Clear goes on is how its going to dry). Once the coat was ‘tacky’ (without forgetting to put the equivalent coat on my testing LID), I applied a further 3 wet coats (waiting for the 2K Clear to ‘tack’ off between coats)
Note: Distance and Speed is important as well as the overlapping of each coat. This will help get the best gloss and not make the Clear run or look dry. I overlapped about 50%.
Step 14) FINISHED
I put each part in a warmish dust free area to dry over night and FINISHED
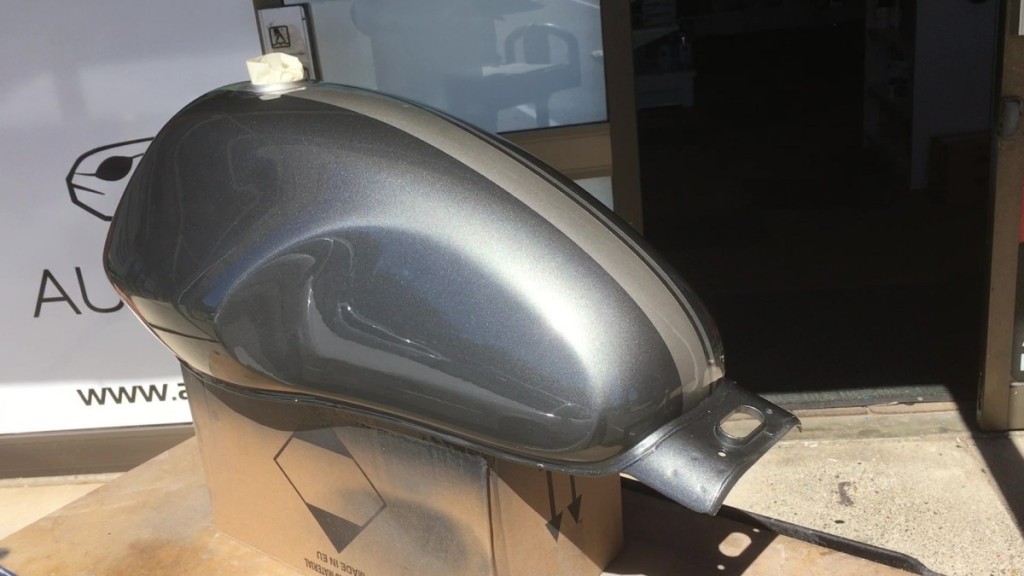
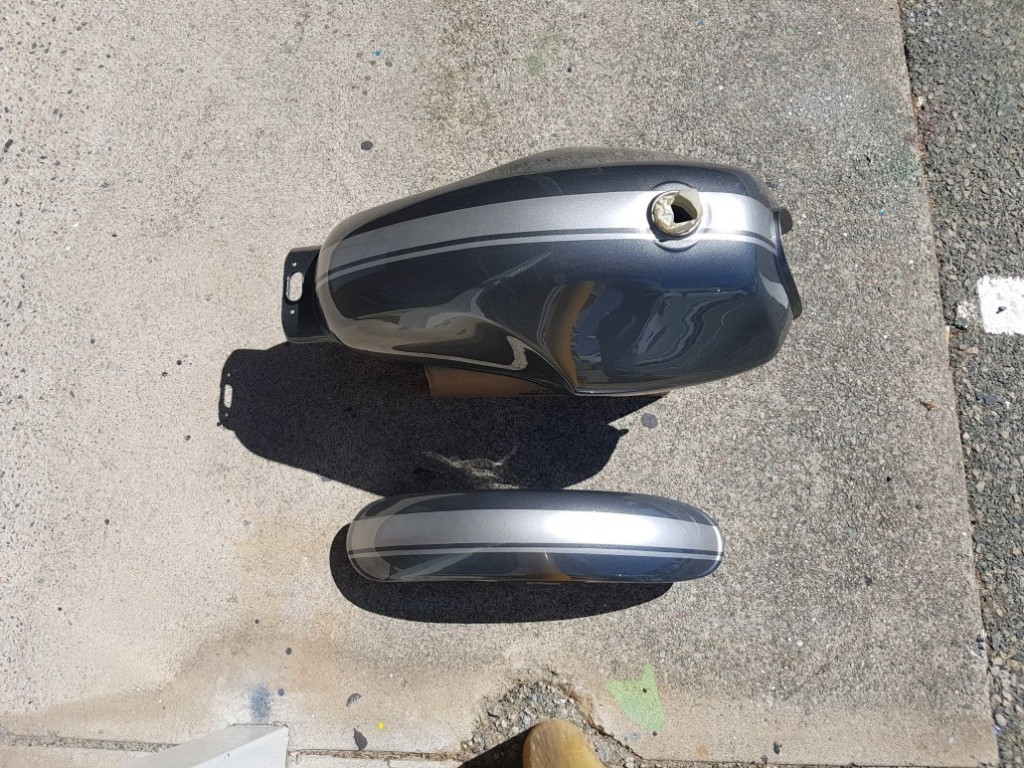
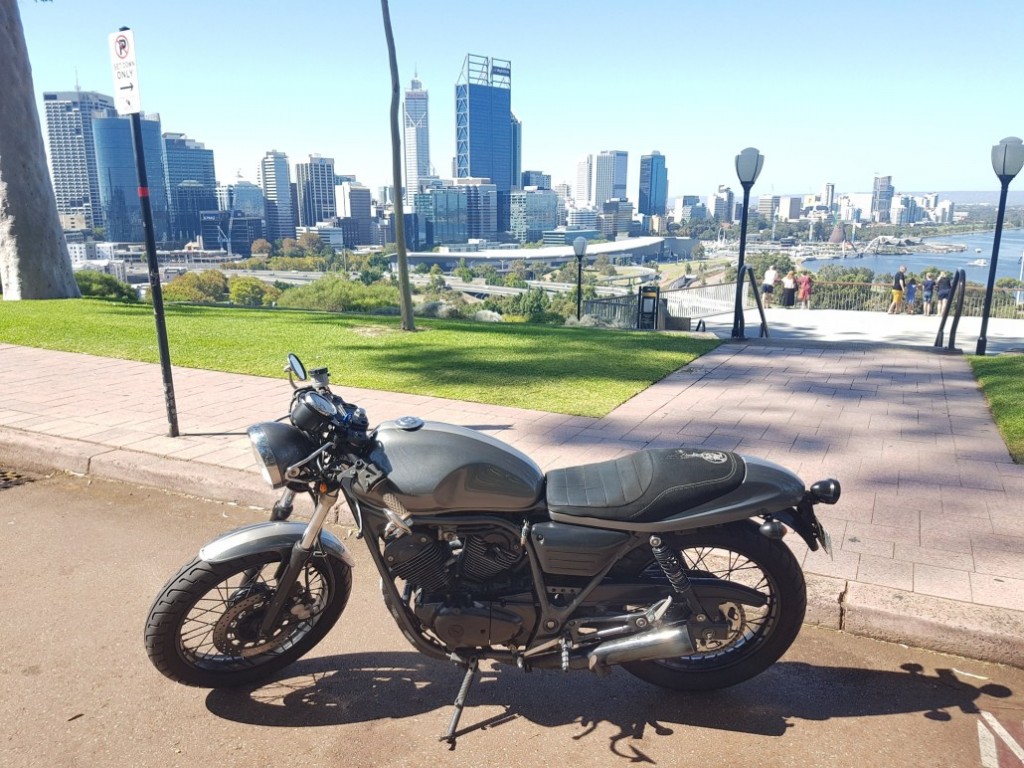
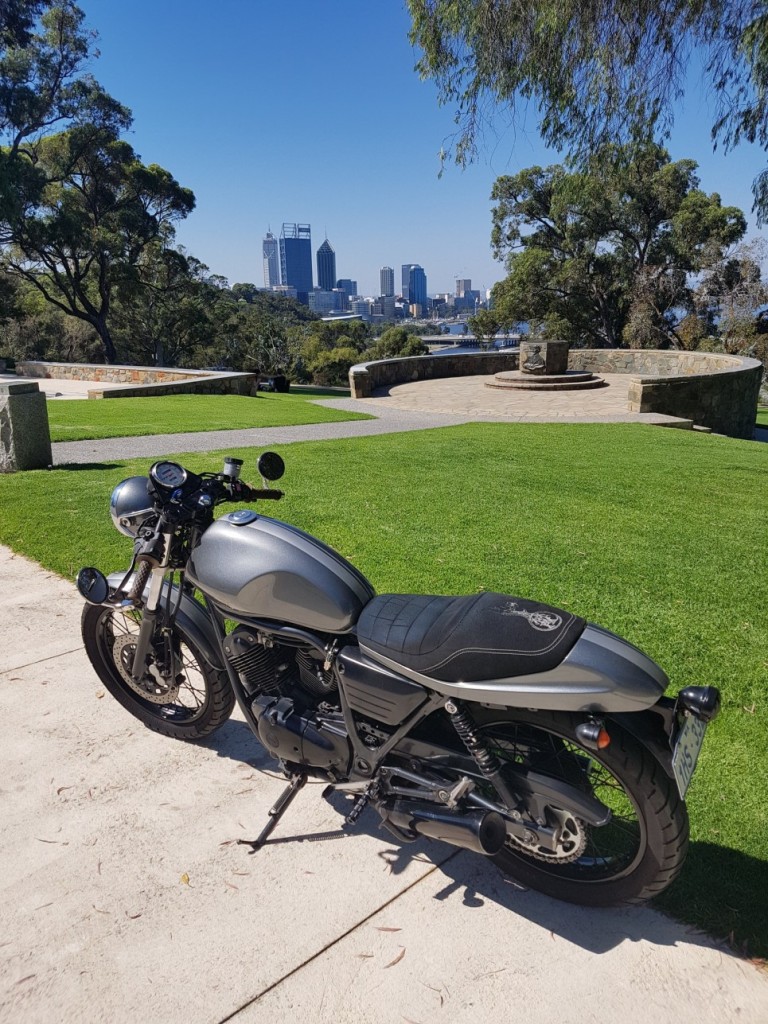
From start to finish it took us about 6 hours, don’t forget we spent while waiting for things to dry.
Products Used:
- 1 x sheet 400g Wet n Dry
- 2 x sheet 400g Dry Paper
- 2 x sheet 600g Dry Paper
- Wax and Grease Remover
- Waterbased Prep Wash
- 4 x Lint-Free Cloths
- 1 x Tack Cloth
- 1 x Spray Can of Super Etch Primer
- 1 x Spray Can of 1K Primer
- 1 x Custom Spray Can of Dark Grey
- 1 x Custom Spray Can of Light Silver
- 1 x Spray Can of 2k Clear
- Roll of 9mm Fine-line
- Roll of 36mm Masking Tape
- Roll of 12″ Masking Paper
Rough total cost $220.00


