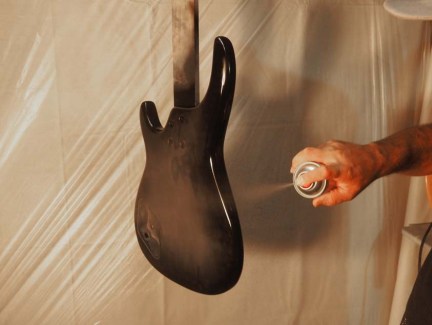
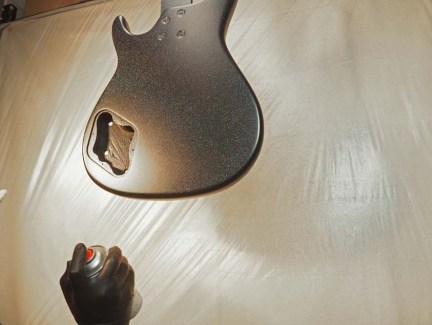
We get a few people into the shop that want to paint their Electric Guitars, but if you don’t have your own spray gear, how do you do it? In this blog to show you how to spray your Electric Guitar with spray cans (yes, cans!)
The colour I used was not my personal choice but an experiment, the experiment being, was it possible to spray Holographic Flakes through one of our Upol custom-made spray cans…. the answer was YES! I have tried to put other flakes into our custom spray cans but the flakes tended to clog the spray-can nozzle very quickly. I will be running through how I painted this Guitar step by step, including what I did to spray Holographic Flakes with the custom spray-can. However if you just want to know how to change the colour of your Guitar, I’m sure that this blog will also help guide that. One thing I should mention is that this process is for Electric Guitars only and not recommended for Acoustic Guitars, as these products (2 packs) will affect the sound of an Acoustic Guitar.
Step 1) – Clean Surface
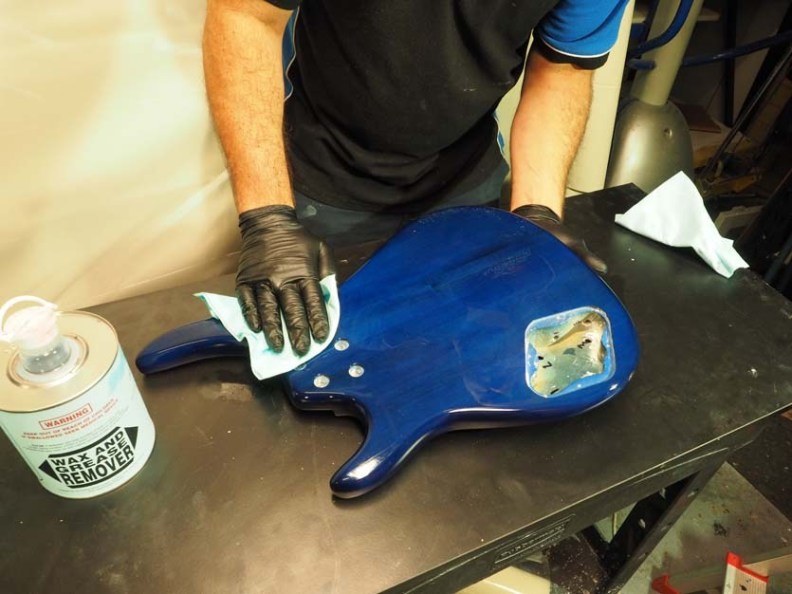
After removing all the parts, I used wax and grease remover to remove any of the contaminants ( like oils that have built up over time from playing the guitar). I repeated the wax and grease remover process a few times in a wipe on, wipe off manner.
Once I was happy that I had cleaned the guitar body properly, I left the wax and grease residue to evaporate for about half and hour.
Step 2) -Sand Surface
I then sanded the guitar with wet and dry 400g (using some soapy water) or if you prefer you can use 240g DRY paper instead. I didn’t take all the paint off or sanded to raw wood, I just took a few layers of paint off to take out any scratches and make the surface smooth and even. Just be a bit careful of using water as we are dealing with wood (even though in this case it was sealed).
I made sure that I sanded the ‘body’ properly leaving none of the original gloss showing. You will see in the second picture a arrow showing a section of the original gloss still visible. You want the body of the guitar all sanded evenly as shown in the red square.
Step 4)
I carefully masked around where the guitar neck sits, otherwise if paint got on there, it would be difficult to refit the neck. Of course you can still sand or scrape off any paint that happens to get there.
I also shaped a piece of wood in replacement of the neck, so that I could hang the guitar up while I painted it
Step 5) Prime
I wiped down the surface with Wax and Grease remover (using a lint-free cloth) and let the excess Wax and Grease Remover evaporate for about 20 minutes.
Just before I put down the 2K primer, I lightly wiped the surface over with a ‘Tack Cloth’ as shown in the first picture below.
Using 2K primer in a spray can, I firstly applied a dust coat and then applied 3 x ‘wet’ coats of 2K primer ,waiting about 5 minutes for the primer to ‘tack off’ between coats. For those that don’t know what I mean by the term ‘Tack off”, its where once the 2k Primer has been applied, you wait until the primer goes ‘tacky’ (a bit like sticky tape; where the paint goes sticky but doesn’t come off on your finger). Rather than risk damaging or leaving a finger print on the guitar by testing to see if its ready for another coat, I normally do is have a piece if scrap metal where I spray an equivalent coat onto the scrap metal and use it to test the ‘stickyness’ on it.
I used 2K black primer in this case because of my colour choice and the colour undercoat needed to achieve the colour I chose.
I then left the primer to dry over night before i did any sanding.
Step 6) – Sanding Primer
I sanded the guitar with 400g dry paper and made sure that all the ‘highs and lows’ were sanded flat and then finished off the sanding with 600g dry paper.
You will see in the first picture below a lot of ‘orange peel’. I had to keep sanding until the whole guitar was like the second picture. I used a flat firm rubber block to hold my sand paper, this was to make sure that the surface was sanded evenly and also flat.
Normally I would of used a ‘guide-coat’ to reveal any highs and lows in the primer but being that I had primed with a black primer, I found that it was not necessary (I could see the highs and lows easily).
Step 7) – Applying Base Colour
Once I was happy with the sanding, I blew off any excess dust and wiped over the guitar with a lint free cloth so get rid of any excess dust from the sanding. I then used then Water Based Panel Wipe (or wax and grease remover will work) with lint free cloth and left for about half an hour.
I used a ‘tack cloth‘ to lightly wipe over the guitar just before I sprayed the base colour (black) down this was to get rid of any hair or light dust that may have landed on the surface.
I then applied 2 medium coats of my black base colour (to get coverage) over the guitar, allowing 5 – 10 minutes between the coats (make sure the coats are all even and no ‘tram’ lines are visible). I then left the Base Colour to dry for 20 minutes.
Step 8) – Painting the Flake (the fun part)
I applied my blue holographic, 3 even coats allowing about 5- 10 minutes between the coats. I decided on 3 coats as it was the desired effect that I liked. For those that have not sprayed flakes before, every coat will put more flakes on, so depending on the effect ( or how much flakes) you want, is really up to you and your personal choice in the effect you like.
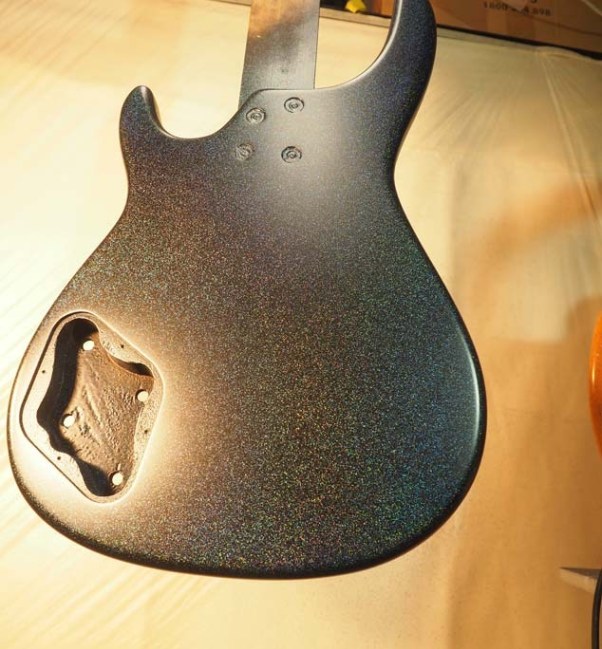
I liked the look of the Blue Holographic on the guitar, however I thought that it needed something a bit extra. I decided to purple holographic just around the edges of the guitar to highlight the edges and give the guitar a bit of a lift.
I only put one coat around the edges. I did cheat at this step and use my touch up gun to apply the edging, I could of used a custom spray to apply the purple flakes but I had some spare flakes that were already mixed up and ready to go ( if would of been shame to of wasted it).
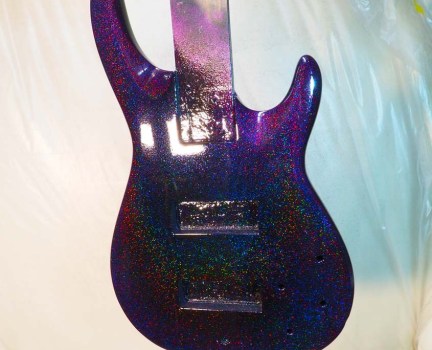
I left the paint to dry off for about 3 hours
( feels a little bit like 240g sandpaper by this stage).
Step 9) Applying Clear
I used 2k Clear in a spray can mainly because 2k (2 pack) come up really glossy and because the 2K Clear holds up better against the oils our body produces, which tend to rub off on the guitar when playing and cause the paint to break down faster over time.
I applied one light dust coat and then 4 – 5 coats (I can’t remember how many coats I actually I put on) full coats of 2K clear, allowing to ‘tack-off’ between coats (roughly 5 minutes). I needed a lot of clear in order to have enough film build to cover the flakes and enough film build so that I didn’t damage any of the flakes when I sanded in the next step.
I left the 2K clear to cure over night.
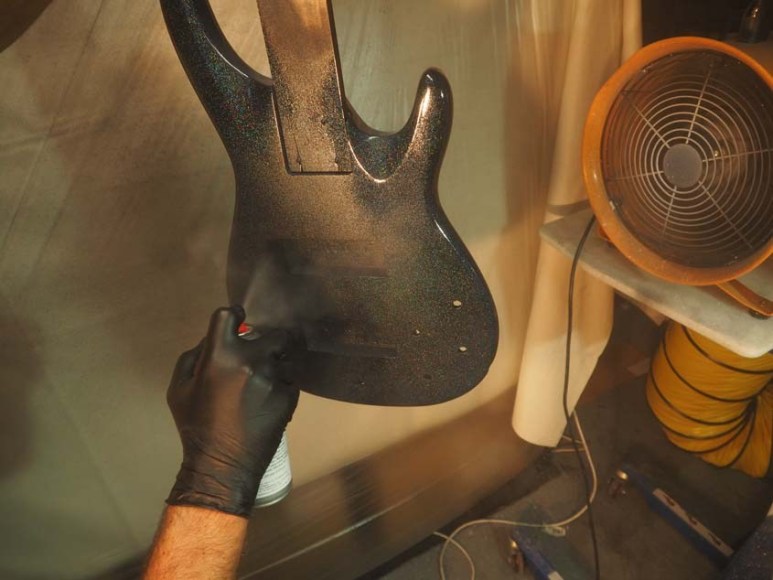
Step 10) Sand back and re-clear
I sanded back the guitar with 1200g using soapy water ( again be careful of how much water you use) and then re-cleared the guitar by applying 1 dust coat and 2 – 3 wet (full) coats of 2k Clear.
By this point I was happy with the result and assembled the Guitar. However in some cases if there is a bit of hair or something stuck in the clear or you want to, sand back the guitar with 1500g, 2000g, 2500g and finer and then ‘Cut and Buff’ the surface with the appropriate cutting compound, appropriate buffing machine and appropriate buff pad
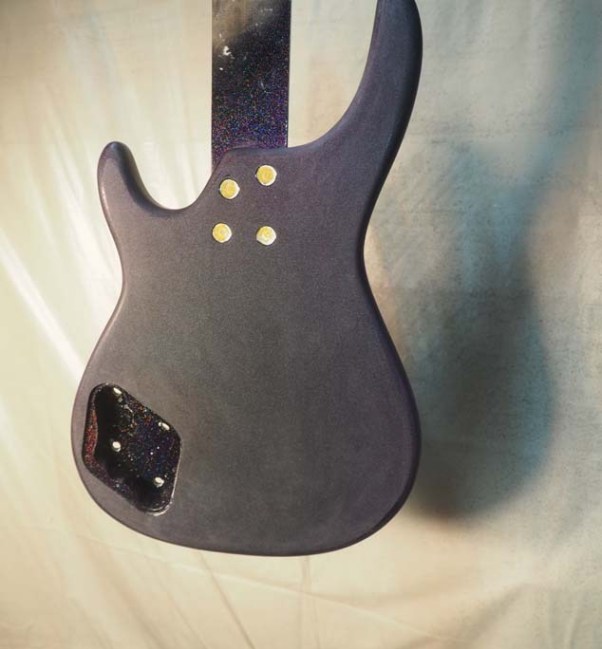
Thanks guys for reading, if you have any questions you want answered, feel free to contact me. The project was fun and I accomplished what I wanted, sure I didn’t follow every procedure to a tee but being that was using spray cans, i was a little limited in options.


